


 English
 русский
 Español
Industry News
Can a Bench Drill Switch Boost Worksite Safety?
Every woodworker or metal fabricator knows the moment of truth: pressing the bench drill switch and feeling the machine come to life. But this small component does far more than just start a motor. It actively shapes workshop safety, drilling precision, and operational efficiency. A poorly designed or degraded bench drill switch can lead to accidental starts, inconsistent speed control, and even electrical hazards. Understanding its technical nuances helps hobbyists and small factory technicians make better maintenance and upgrade decisions.
Electrical and Mechanical Functions Beyond Simple On/Off
The bench drill switch acts as the command center for the drill's motor circuit. In single-phase induction motors (common in bench drills up to 1.5 kW), the switch must handle inrush currents 5–8 times higher than the rated full-load current. For a 750W drill, this means momentary peaks exceeding 30 amperes. A quality bench drill switch uses silver-cadmium oxide contacts rated for at least 10,000 electrical cycles at full load.
Motor starting and stopping with bounce-free contact closure. Speed regulation when paired with a triac-based dimmer circuit. Emergency disconnection via a magnetic contactor or direct mechanical latch. Overload protection through integrated thermal sensors (bimetallic strips).
Without a properly rated bench drill switch, contact welding can occur, leaving the motor running even after the operator releases the button. This directly answers the long-tail search query "why does my bench drill keep running after I turn it off".
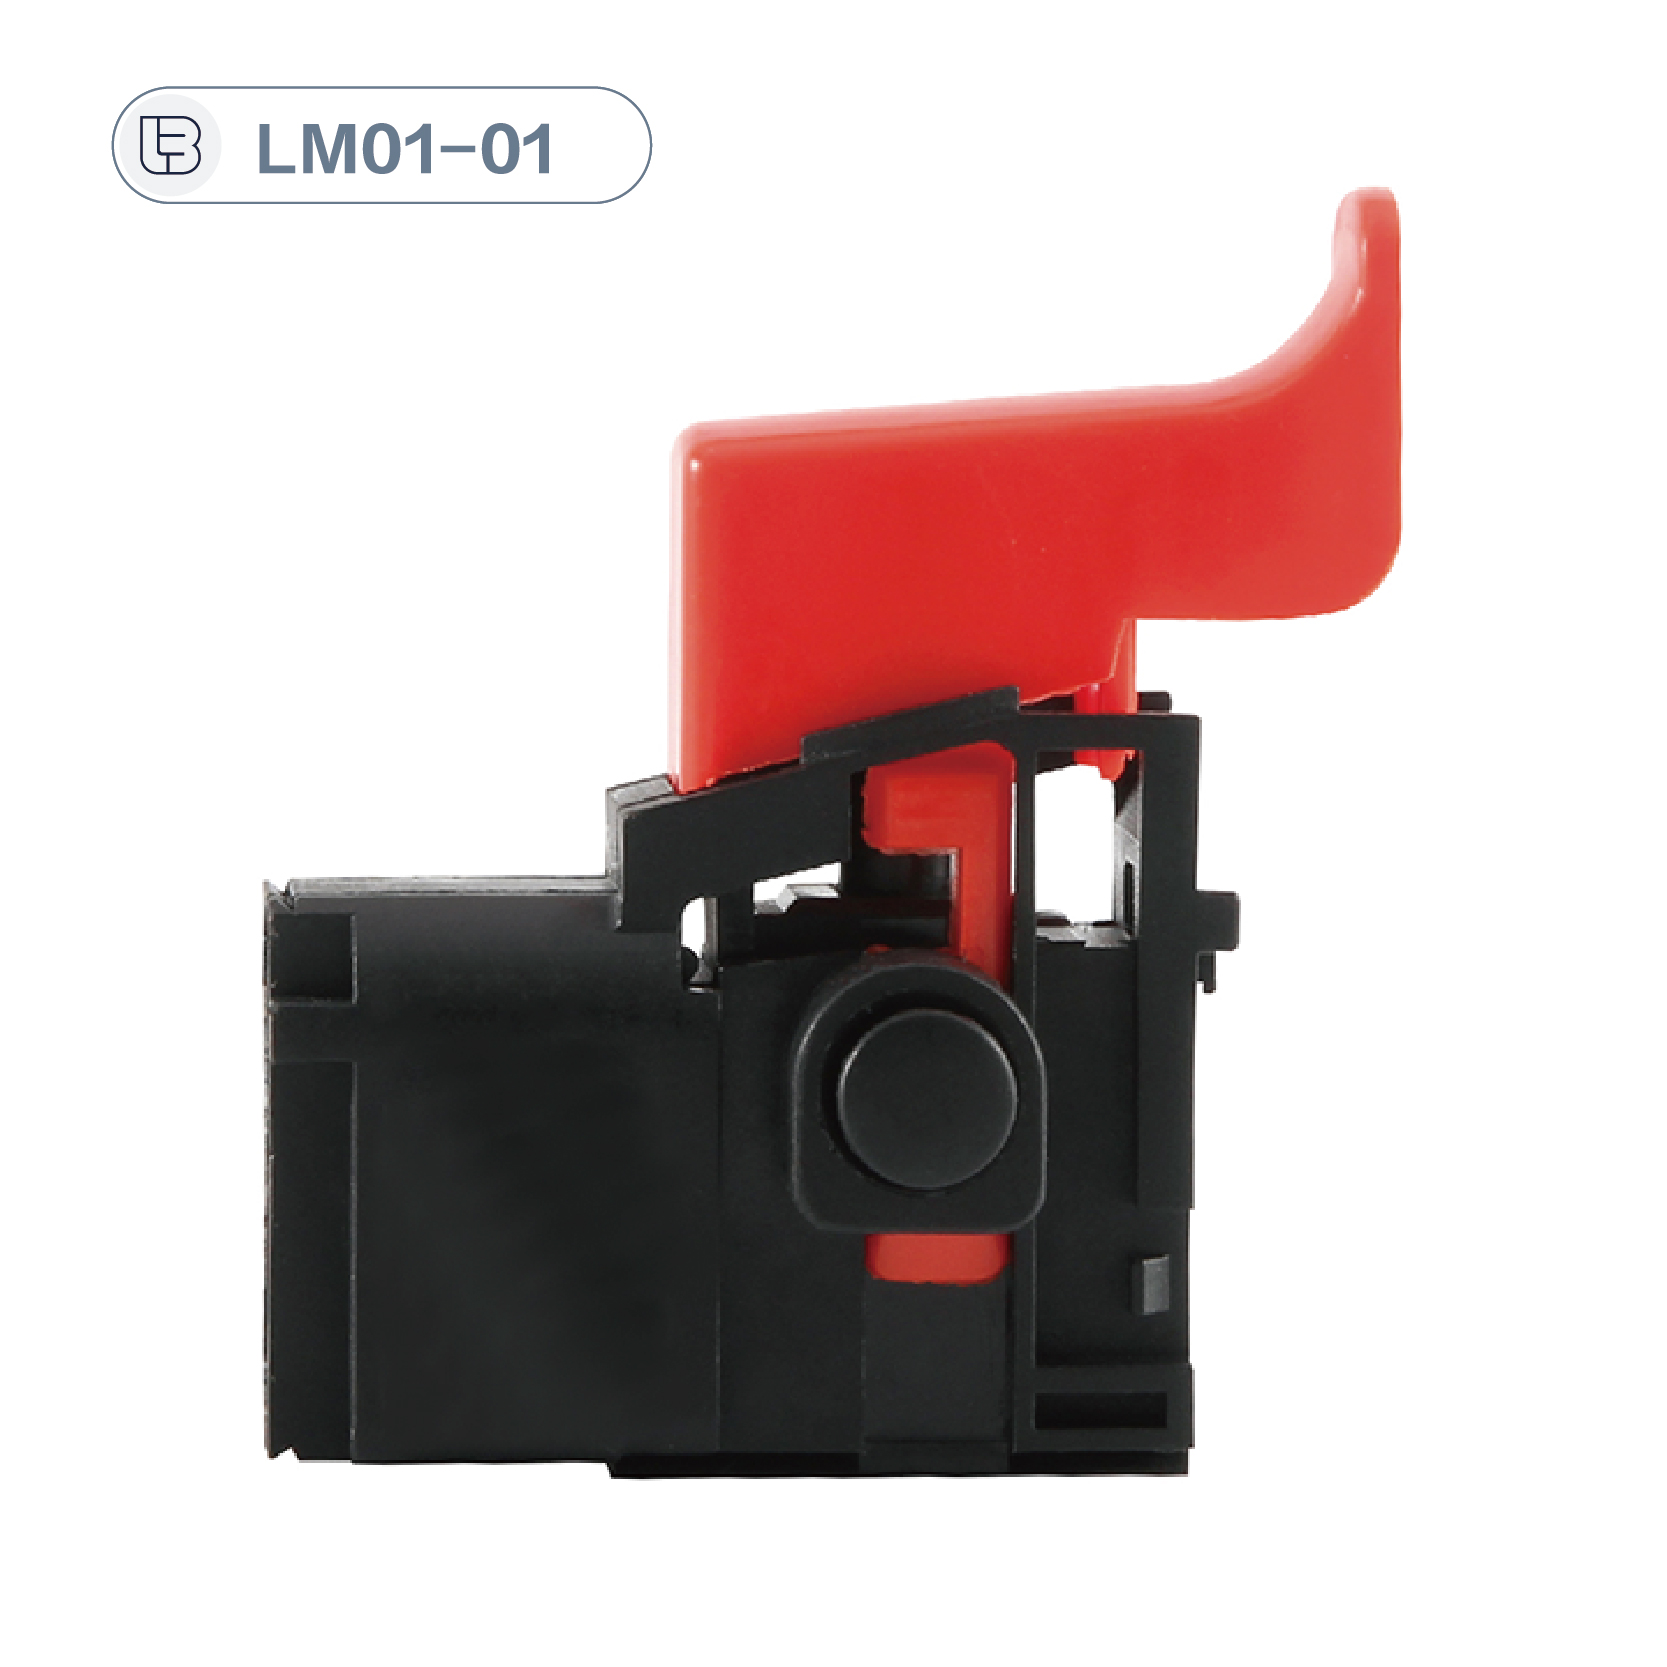
Switch Types and Their Technical Tradeoffs
Manufacturers offer three main architectures for the bench drill switch, each suited to different user needs:
Push-button with magnetic contactor – Used on industrial drills above 1 HP. The button only carries control current (milliamps), while a contactor handles motor current. This design allows remote emergency stops and prevents automatic restart after power failure (a key safety requirement per EN 60204-1). However, it adds cost and complexity.
Rocker or toggle switch – Common on entry-level home workshop drills. Directly switches motor current. Simple and cheap, but prone to contact erosion if used frequently under load. Search query "how to replace a burned bench drill switch" typically refers to this type.
Rotary switch with speed control – Integrates a potentiometer and a triac phase-control circuit. It allows variable speed from 300 to 3,000 RPM by chopping the AC sine wave. The bench drill switch in this design must also suppress electromagnetic interference (EMI) using RC snubbers, as nearby radios or CNC controllers experience glitches.
For drilling large holes in steel (e.g., 16 mm diameter at 500 RPM), operators need low speed with high torque. A rotary bench drill switch with a minimum speed lock (prevents accidental overspeed) adds both safety and precision. This addresses "bench drill switch for metalworking" searches.
Common Failure Modes and Diagnostic Signs
Field data from small factories show that 23% of bench drill downtime originates from switch issues. Recognizable symptoms include:
Intermittent operation: The drill stops when vibration occurs. Cause: loose terminal screws or worn contact springs inside the bench drill switch. Slow speed even at maximum setting: Triac is failing due to repeated overcurrent. Replace the whole rotary switch assembly; individual triacs are not user-serviceable. Burning smell, but drill works: Arcing at contacts has carbonized the switch housing. Immediate replacement is required to prevent fire. Drill starts without pressing the button: Welded contacts (often caused by switching off under heavy load). Disconnect the power and replace the bench drill switch before further use.
Technicians often ask, "Can I clean bench drill switch contacts instead of replacing them?" The answer is generally no for sealed units—disassembly damages spring tension calibration, leading to future overheating.
Installation and Maintenance Best Practices
Installing a new bench drill switch requires attention to three critical parameters:
Terminal torque: Use a small screwdriver with a torque-limiting feature (0.5–0.6 Nm for M3.5 terminals). Over-tightening strips threads; under-tightening causes resistive heating. Wire gauge: For a 1 HP drill (approx 10A full load), use at least 1.5 mm² (AWG 14) copper wire. A bench drill switch with 6.3 mm quick-connect terminals must have crimped ferrules, not bare wire. Dust protection: If drilling wood or fiberglass, install the switch in a sealed enclosure (IP54 minimum). Ingress of conductive dust can track high voltage across terminals.
For variable-speed models, never operate the bench drill switch at very low speeds (below 300 RPM) for more than 30 seconds. The triac generates excess heat without enough motor fan cooling. This long-tail tip answers "why does my variable speed bench drill overheat?"
Selecting the Right Replacement Switch
When searching online for a bench drill switch, specify these parameters to avoid mismatches:
Current rating: Continuous amps at 250V AC (e.g., 12A for 2 HP motors) Poles and throws: SPDT for simple on/off; DPST for switching both hot and neutral (required by some local codes) Actuator type: Mushroom emergency stop (red) vs. recessed button (prevents accidental presses) Terminal style: Screw, quick-connect, or solder—must match original wiring
Investing in a high-quality bench drill switch transforms an ordinary drill press into a reliable, safe, and efficient machine. It reduces operator fatigue (smooth actuation), protects the motor (no contact welding), and supports precise speed selection for materials from softwood to stainless steel. For the small workshop owner, this one component repays its cost many times over in avoided repairs and consistent hole quality.
Copyright © Yongkang Creator Import & Export Co.,Ltd. All Rights Reserved.

Power Tools and Other Universal Spare Parts Manufacturer