 English
 русский
 Español
Industry News
How Can DIY Users Replace Stators Safely in Tools?
Power tools are essential for DIY enthusiasts, offering convenience and efficiency for a variety of tasks. The stator, a crucial component in electric motors, plays a vital role in the performance of these tools. Over time, wear or damage to the stator can reduce efficiency or cause tool failure.
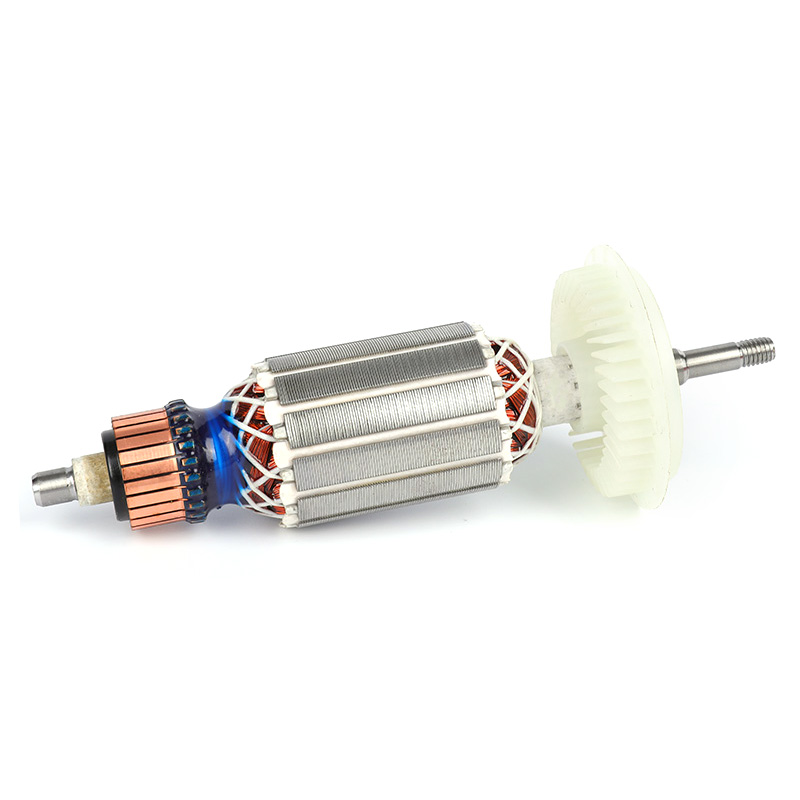
Understanding the Stator's Role
Before attempting a replacement, it is important to understand what the stator does. The stator for power tools is the stationary part of the motor that generates the magnetic field, allowing the rotor to spin and produce motion. Damage to this component can result in overheating, unusual noises, or a complete motor failure. Recognizing the signs of a faulty stator helps DIY users determine when replacement is necessary and prevents further damage to the tool.
Gathering Necessary Tools and Materials
Safe stator replacement begins with proper preparation. Users should gather essential tools such as screwdrivers, pliers, a multimeter, and, if necessary, a soldering kit. Having the correct replacement stator that matches the tool's specifications is critical to ensure proper function. Using an incompatible stator can cause poor performance or even damage the motor further. Additionally, working in a well-lit, organized workspace reduces the risk of mistakes and accidents.
Disconnecting Power and Ensuring Safety
Safety is a primary concern when handling electrical components. DIY users must disconnect the tool from any power source, whether corded or battery-operated, before starting the replacement process. Removing the battery pack or unplugging the cord eliminates the risk of electric shock. Wearing protective gloves and safety glasses adds an extra layer of protection, especially when dealing with sharp edges or small components inside the motor.
Removing the Old Stator
Once the tool is powered down and safety measures are in place, the next step is to access and remove the old stator. This often involves disassembling the tool casing, detaching wires, and carefully unmounting the stator. Using a diagram or service manual can guide users through the correct steps, reducing the chance of damaging other components. Checking for additional wear on the rotor or bearings while the tool is open is also recommended, as this may prevent future issues.
Installing the New Stator
After removing the old stator, the new stator for power tools can be installed. Users should ensure proper alignment and secure mounting to prevent vibration or imbalance during operation. Reconnecting wires according to the tool's wiring diagram ensures that the motor functions correctly. Double-checking all connections and moving parts before reassembling the casing helps avoid operational problems and ensures safe use.
Testing and Maintenance
Once the replacement is complete, testing the tool is crucial. Reconnect the power source and run the tool at a low setting to check for smooth operation and any unusual sounds. Proper testing confirms that the stator has been installed correctly. Regular maintenance, such as cleaning dust from the motor and checking for loose components, helps prolong the life of the stator and the power tool overall.
Replacing a stator for power tools can be performed safely by DIY users with careful preparation, appropriate tools, and attention to safety procedures. Understanding the stator's function, disconnecting power, following step-by-step replacement instructions, and performing thorough testing are key steps to ensure successful installation.
Copyright © Yongkang Creator Import & Export Co.,Ltd. All Rights Reserved.

Power Tools and Other Universal Spare Parts Manufacturer